Paint rollers are very useful for large-scale projects. Not only do they apply paint quickly, but they can also produce a very smooth finish if used skilfully. They are ideal for painting large flat surfaces.


Understanding Roller Paint Brushes
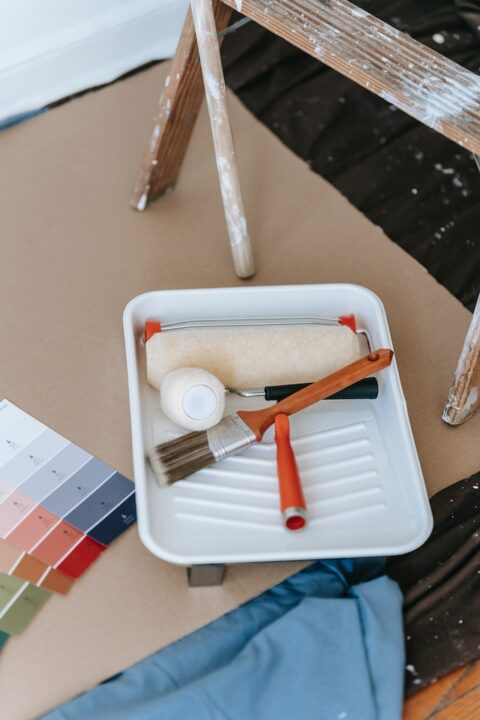
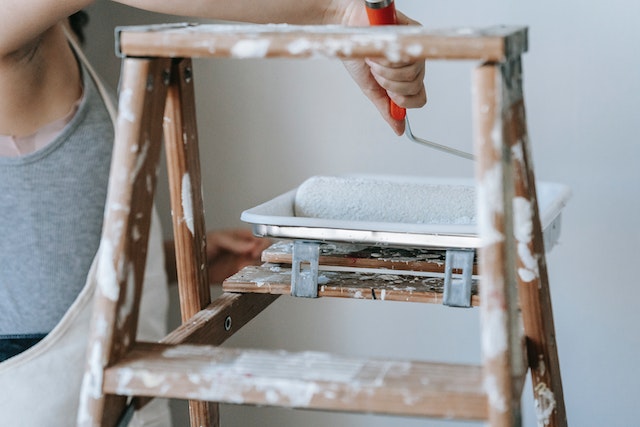
Paint rollers consist of a roller cage and a fabric cover/sleeve. A tray of a slightly greater width than the roller is used for getting the paint onto the roller surface.
Most internal wall rollers are about 30 cm (12 inches) in length. This proves the optimal size for walls, providing good paint coverage at a moderate weight.
There are smaller size rollers for painting smaller objects like bookshelves.
The thickness of the material on a roller cover is called the nap. A thicker nap holds more paint, but a thinner nap tends to give a smoother finish.
Glossy paint will require a thinner nap if it is to have a shiny surface, with 6mm being typical.
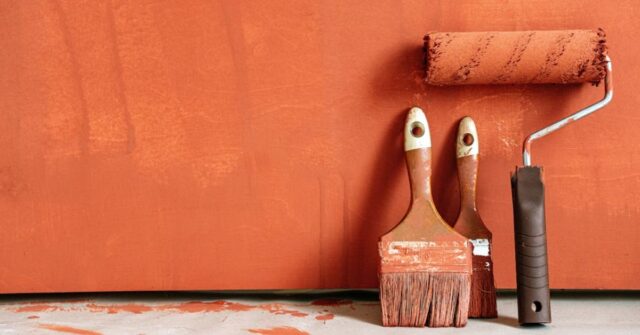
A roller will not paint in corners, nor is it ideal for painting next to skirting boards. These areas are usually painted in advance with a brush.
This brush paint in the corners should be dry before the roller painting is started.


How to Perform Roller Painting
- Wash the roller fabric to remove dust and fuzz
- Attach the fabric cover to the roller cage
- Partly fill the tray with paint
- Dip the roller to half of its diameter into the paint
- Move the roller back and forth over the tray to evenly spread the paint over the roller surface.
- Paint the walls with a zig-zag pattern, covering small sections (about 50cm square) at a time. Fill in any gaps.
- Go over the wall surface with long parallel strokes.
- Make sure the roller paint overlaps with brush paint in the corners.
- When finished, clean the paint roller.
Most roller painting uses water-based paint as cleaning is too difficult with oil paint. Disposable fabric covers are sometimes used for oil-based paint.
Take note that a combination of roller painting and brush painting is required to produce a great look for your home’s interior.


