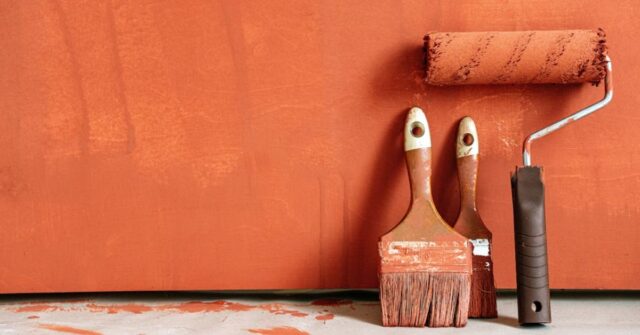
Wall paint needs to be changed occasionally. This repainting can be for maintenance purposes, touch-ups, or changing the colour altogether.
To remove any hassle or the chance of mishaps, you would hire professionals to paint your walls. But sometimes, you may want to do the job yourself.
If this is the case for you, you must learn how to paint your walls properly.
One of the most important things you cannot skip is the painting preparation.
Preparing the walls is just as important as painting the walls. A well-prepared wall will result in a good paint job for years to come.
If you have no patience and decide to skip this step, you will end up with a poor result that will probably require you to redo the job quicker than you had planned.
We are here to help you with some tips on preparing walls for painting, especially if this is your first attempt.
Essentially this is the same process we use when completing wall painting work for our customers.
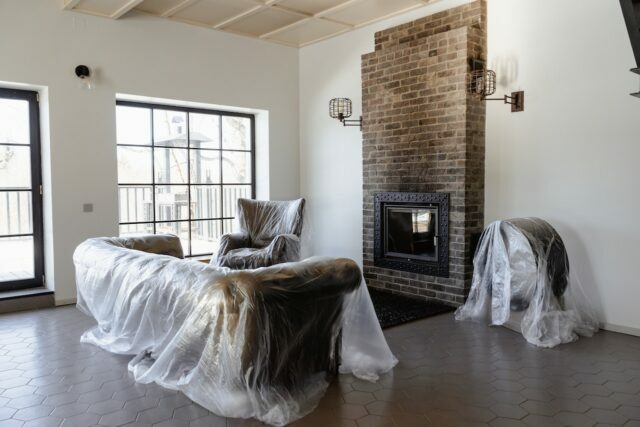
Remove Furniture
The first step is to remove the furniture in the area that you are painting.
If possible, get it all out of the room. If not possible, push the furniture away from the walls or cover it to protect it from any paint splatters.
Removing the furniture not only protects the furniture but also gives you the space to work comfortably.
Clean the Walls
After you have taken the furniture out, or covered it, you can start cleaning the walls to remove dust and dirt.
You can use a vacuum cleaner and towels, but for most walls, a duster should do the trick.
If you are going to paint bathroom or kitchen walls, you will probably need to clean the walls using a degreaser or solution of water and detergent to make sure the walls are totally clean and ready to be painted.
You may also need a paint scraper to scrape any cracks or old paint flakes. If you find any bumps, you can smooth them using sandpaper.
Prepare the Materials
After cleaning the walls, it is time to get all your materials prepared.
Some of the materials you need to gather are paint, primer, a paint can opener, stir sticks, rollers, paint brushes, a paint tray, gloves, and an extension pole for the rollers.
You may also need to put on work clothes that will cover most of your body and put on goggles to protect your eyes.
Fill in Holes and Cracks
Sometimes, walls have cracks or holes from previously drilled nails. Make sure all these imperfections are covered.
You can fill them in using a joint compound. After that, you can use sandpaper to smooth the surface down.
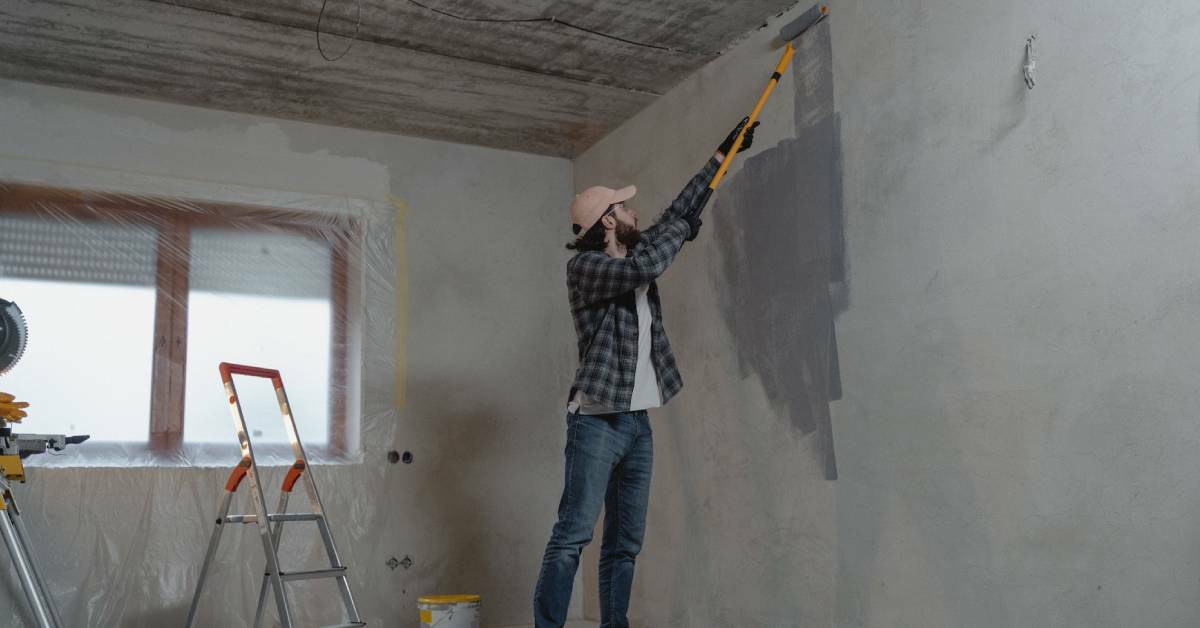
Scrape Ridge in Textured Ceiling
If you have a textured ceiling, it will be hard to get straight lines without getting paint in ceiling bumps.
The key to getting a straight line is to scrape the bumps off.
You can use a screwdriver or blade to do this but be careful. You do not want to cause damage to the surrounding areas.
When done right you will create a ridge along the perimeter of the ceiling. The ridge will then allow tiny bristles of your brush in and give you a nice straight finish.
Protect
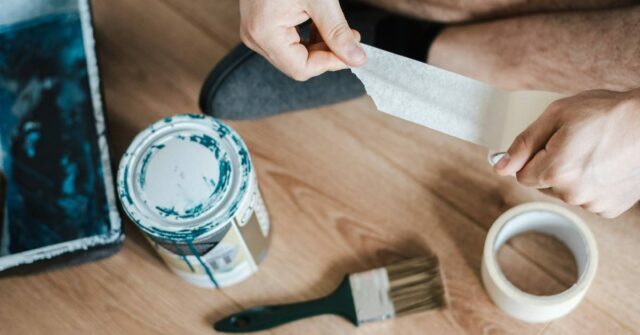
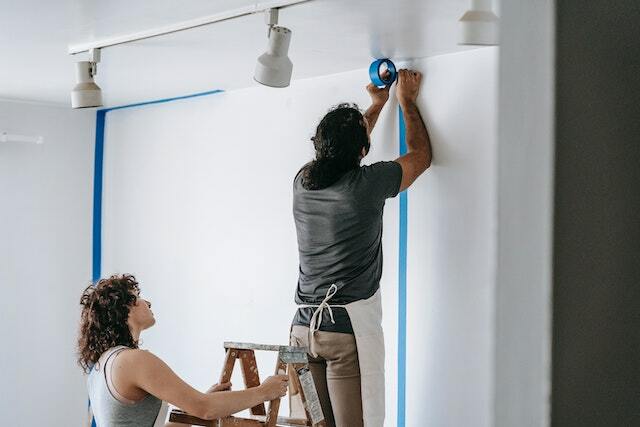
To get a neat and clean result, use painter’s tape to cover parts you do not want the paint to get onto, like wall sconces and trim.
Use blue painter’s tape instead of masking tape to avoid sticky residue being left behind.
Press the tape with a putty knife. Tape that is pressed properly will prevent bleeding, so you do not have to clean the mess afterwards.
You can leave the tape for up to several days after you have finished painting. Once the paint is dry to the touch, remove the tape for a clean and neat result, just like a pro.
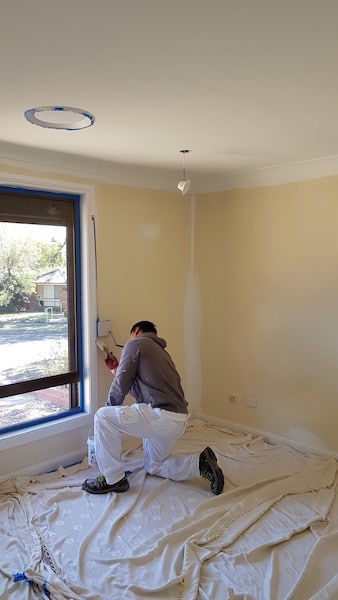
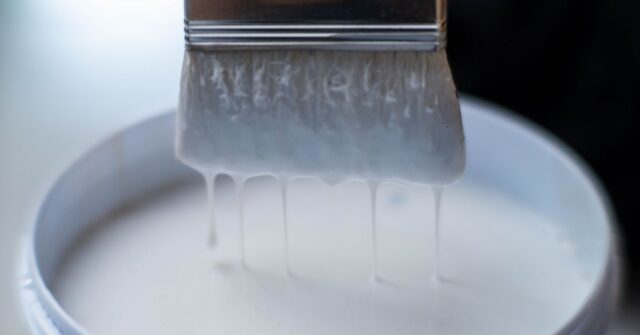
Prime the Walls
This is the most important part and the key to successful wall painting.
Prime the walls to make sure you have a smooth surface to work on. Choose a good quality primer to hide any imperfections on the walls.
A water-based primer is best for a dry new wall. If you want to paint walls with heavy stains like oils and smoke stains, an oil-based primer will be a better option.
You can use white primer for new walls, but if you must cover the previous paint colours and patches, you may need to use a tinted primer.
Now You Are Ready to Paint!
By applying these tips, your walls will be fully prepared and ready for painting.
Alternatively, you can avoid all the hassle and stress by calling in the pros. Here is Advanced Painting we offer prices to keep you happy, free quotations, and results that will stand the test of time.