Painting a room sounds simple – until you realise there’s a right and wrong way to go about it. The order in which you paint surfaces makes a huge difference in how smooth and efficient the job is.
This guide walks you through the proper sequence so you get the best results with the least fuss.
Why Painting Order Matters: Efficiency And Professional Results
Think of painting a room like baking a cake. You wouldn’t ice it before it’s out of the oven, right? The same logic applies here.
Following the right order saves time, avoids messes, and gives a cleaner finish. It’s not just about looks – it’s about working smarter, not harder.
Essential Preparation Before You Start
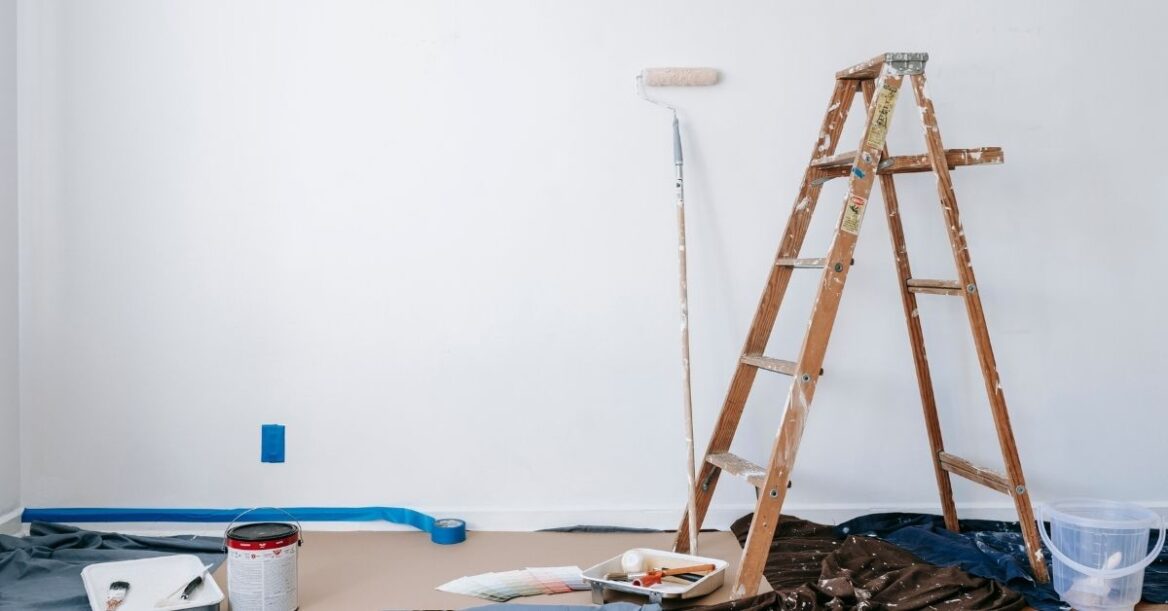
Before the first brushstroke hits the wall, set yourself up for success. Good prep work means fewer headaches later. Plus, you’ll paint faster and cleaner.
Clear And Protect The Space
Move furniture out of the room or to the centre and cover it with plastic or drop sheets. Lay canvas on the floor to catch splatters.
Unscrew switch plates and power point covers. A tidy space is a happy workspace.
Repair Imperfections And Prime Where Needed
Patch up holes and cracks with filler, then sand smooth. Flaky paint? Scrape it off. If you’re covering dark colours or painting fresh plaster, a coat of primer will help the new colour pop and stick better.
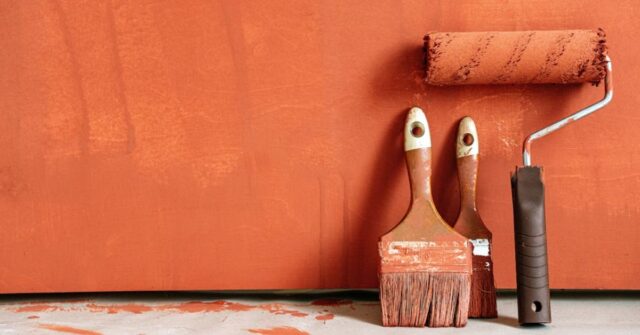
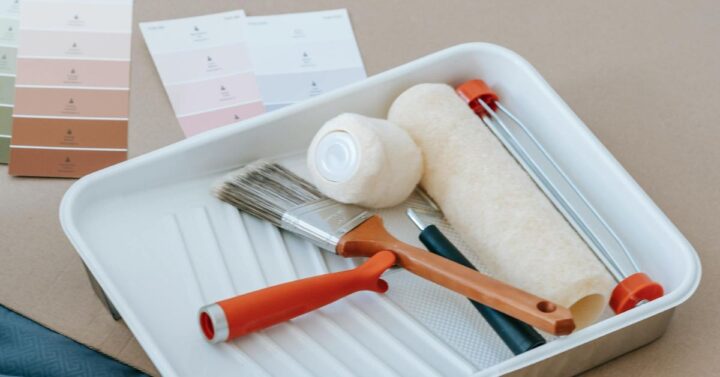
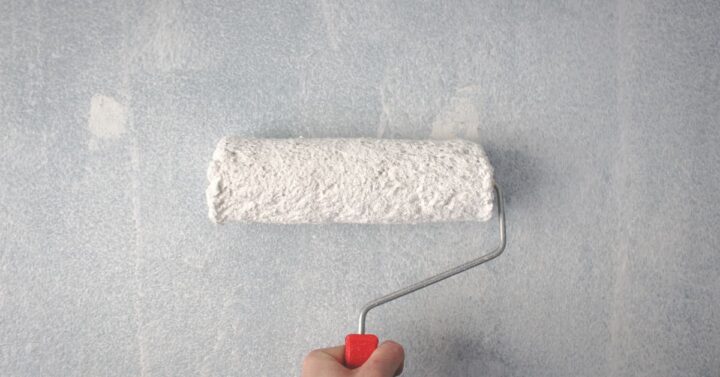
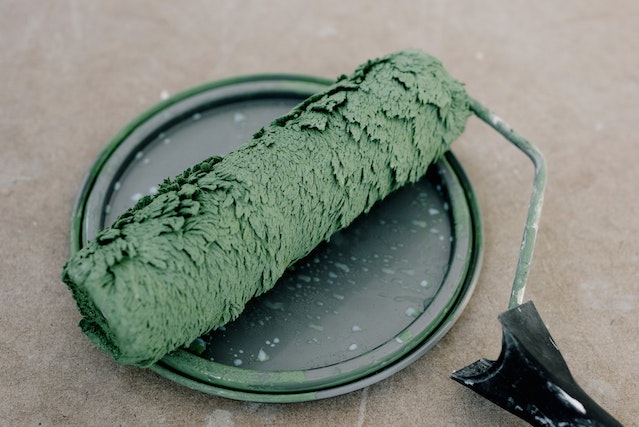
Select The Right Tools And Paint
Choose quality brushes for cutting in and a roller with the right nap length for your wall texture. Water-based paint is easy to clean and dries fast. Oil-based is tougher but slower to dry. Read the label. Trust it.
Apply Painter’s Tape And Cover Fixtures
Mask edges along skirting boards, windows, and trims. Cover light fittings and door handles. Tape helps you stay within the lines – unless you’re the next Picasso, in which case, carry on.

The Ideal Room Painting Sequence
Here’s where it counts. Stick to this order and you’ll avoid rework, drips, and frustration. It’s the sequence pros use – and for good reason.
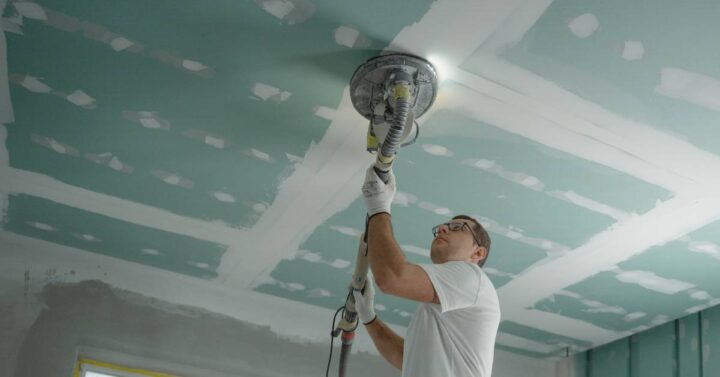
Step 1: Start With The Ceiling
Ceilings first. Gravity is a thing. Paint splatters fall down, not up. Use a roller on an extension pole for coverage and comfort.
Cut in around light fittings and edges first, then roll in sections, keeping a wet edge to avoid streaks.
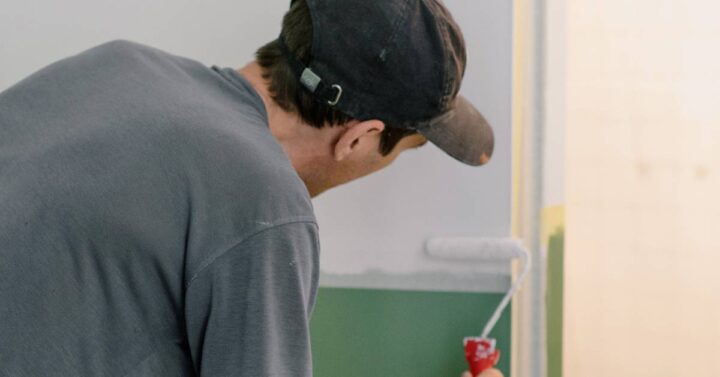
Step 2: Move On To The Walls
Once the ceiling’s dry, get stuck into the walls. Cut in around the trim, windows, and ceiling line with a brush. Then roll the paint in a ‘W’ pattern for even coverage. Don’t rush – slow and steady wins the coat.
Step 3: Paint The Trim And Mouldings
Now it’s the trims’ time to shine. That’s your window casings, door frames, and crown mouldings. Use a smaller brush and take your time.
Trims often need two coats, especially if you’re switching from dark to light colours.
Step 4: Doors And Window Frames
Doors and frames take more effort than you’d think. Remove the door if you can – it’s easier to paint flat. Use a brush or mini roller, and start with panels, then work around the edges. Patience pays off here.
Step 5: Finish With Skirting Boards
Leave skirting boards till last so they’re not scuffed while painting the walls. Use painter’s tape on the floor edge, and a small angled brush for neat lines. This is the icing on the cake – finish strong!
Techniques To Improve Finish Quality
You’ve got the order down – now let’s make it look top-notch. A few small adjustments go a long way.
How To Cut In Neatly
Cutting in means using a brush to paint where rollers can’t reach. Dip only the tip of the brush, wipe the excess, and steady your hand.
A small angled sash brush helps with accuracy. No shaking hands after a morning coffee, though!
Tips For Rolling Walls Smoothly
Don’t overload the roller. Start in the middle of the wall and work in sections. Roll in overlapping ‘M’ or ‘W’ shapes to avoid lines. Lay off each section lightly in one direction before moving on.
Maintaining A Wet Edge
This simply means keeping your paint edges from drying out before overlapping them. It helps avoid lap marks.
Work quickly and methodically, especially in warm weather where paint dries faster than you can say “matt or satin?”
Common Mistakes To Avoid
Even the best intentions can be undone by a few classic missteps. Learn from others, not from hard lessons.
Painting Out Of Order
Going rogue with your order often means cleaning up drips or repainting sections. Stick to ceiling, walls, trims, then skirtings. There’s a reason this method has stood the test of time.
Skipping Preparation Steps
Paint doesn’t hide sins – it highlights them. Skipping sanding or cleaning leads to patchy paint and poor adhesion. Prep like a pro, and the results will speak for themselves.
Overloading Or Underloading The Brush
Too much paint and it’ll drip; too little and you’ll be stuck applying coat after coat. Dip just the tip, tap off excess, and apply with control. It’s all about balance – like a good flat white.
Clean-Up And Final Touches
The job isn’t finished when the paint dries. Wrap things up right for the best end result.
Removing Tape Without Damage
Wait until the paint is dry to the touch but not fully cured. Peel tape back on itself slowly and at a 45-degree angle. If the paint lifts, score lightly with a knife along the edge first.
Checking For Missed Spots
Once everything is dry, check under different lighting. Use a torch if you have to. Touch up any patchy areas with a brush. A second set of eyes can help spot things you’ve missed.
Properly Cleaning Brushes And Rollers
Rinse water-based paint gear under warm water until it runs clear. For oil-based, use mineral turps. Dry tools flat to avoid misshaping bristles. Trust us – future you will thank current you.
FAQs About Painting Room Order
Do I need to sand between coats? Only if you want a silky-smooth finish. Light sanding helps paint stick better and removes imperfections.
Can I paint over gloss without sanding? Not a good idea. Glossy surfaces need to be scuffed up or primed for paint to adhere.
How long should I wait between coats? Usually 2–4 hours for water-based paints. Always check the tin – it knows best.
Final Thoughts On Painting In The Right Order
Painting isn’t just about colour – it’s about process. Get the order right, and you’ll save time, avoid hassle, and finish with a room that looks like it was done by a pro.
So next time you pick up a brush, remember: top to bottom, back to front, and patience all the way. Happy painting!