Whether you’re a first-time painter or a seasoned DIY enthusiast, painting a wall is a simple yet rewarding project that can breathe new life into your living space.
This step-by-step guide will help you achieve a professional-looking finish while avoiding common pitfalls. Grab your paintbrush and let’s get started.
Plan and Prepare
Before you dive into the world of colours and brushes, take the time to plan your project.
Consider the type of paint you’ll need, the desired finish, and the final colour. Visit a local paint store or browse online for inspiration, and don’t be afraid to ask for advice.
Make a list of required tools and materials, including:
- Paint (including primer)
- Paint rollers, brushes, and trays
- Drop cloths or plastic sheeting
- Painter’s tape
- Sandpaper (100-120 grit)
- Spackle or joint compound
- Putty knife
- Ladder or step stool
- Screwdriver
- Clean cloths or sponges
Prep Your Workspace
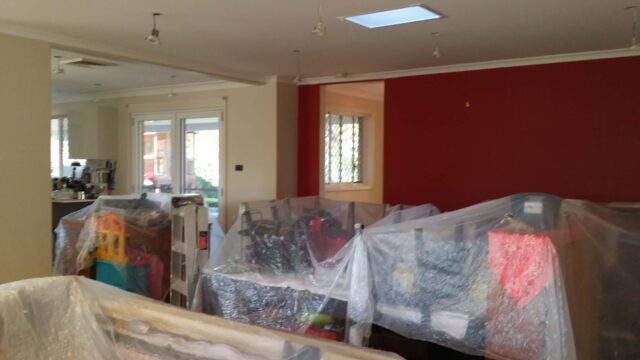
Clear the room of furniture or move it to the centre and cover it with drop cloths or plastic sheeting. Remove wall decorations, outlet covers, and switch plates.
You should also protect your floors and baseboards by laying down drop cloths or plastic sheeting and securing them with painter’s tape.
Repair and Clean The Wall
Inspect the wall for imperfections such as cracks, holes, and dents. Fill these with spackle or joint compound, applying it with a putty knife.
Allow it to dry, then sand the repaired areas smoothly using sandpaper. Wipe down the walls with a clean, damp cloth or sponge to remove dust and debris.
Then allow the walls to dry completely before proceeding.

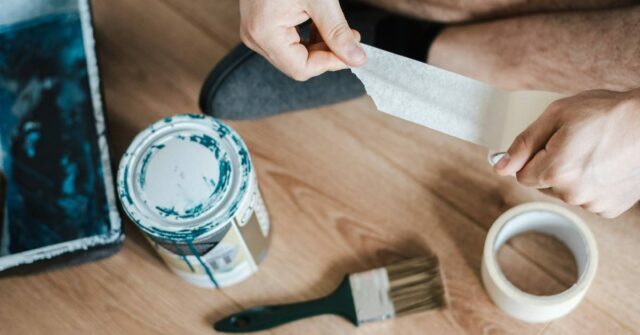
Apply Painter’s Tape
Apply painter’s tape to the edges of the wall, baseboards, trim, and other surfaces you want to protect from paint. Press down firmly on the tape to ensure it adheres and prevents the paint from seeping through.
Prime the Wall
If you’re painting a light colour over a darker one or painting new drywall, apply a coat of primer to the wall first. This will provide a uniform base for your paint and improve adhesion.
In fact, you should always apply a primer before the final paint as it will ensure a better and longer-lasting result. Allow the primer to dry according to the manufacturer’s instructions before moving to the next step.
Mix and Pour the Paint
Stir the paint thoroughly to ensure the colour is even, then pour a small amount into a paint tray. Avoid overfilling the tray to prevent spills and allow smooth application.
Cut In the Edges
Using a smaller, angled brush, paint a 2-3 inch border around the edges of the wall, near the trim, baseboards, and corners.
This technique, known as “cutting in,” allows for a neat, even finish when you move on to painting the larger areas with a roller.

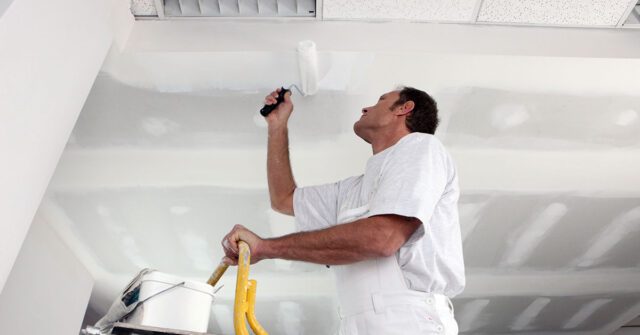
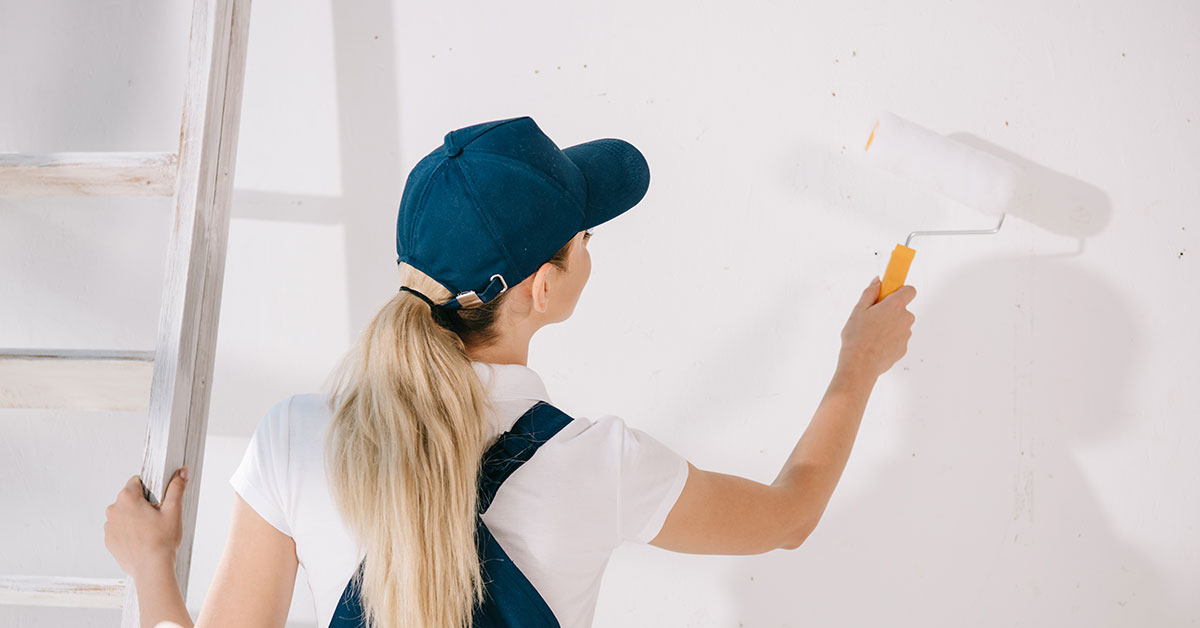
Roll On the Paint
Dip a paint roller into the paint tray, making sure it’s evenly coated but not dripping. Start at one corner of the wall and paint in a “W” or “M” pattern, working your way across the wall.
This technique helps distribute the paint evenly and avoids creating visible lines or streaks. Apply even pressure and refill the roller as needed. For best results, work in 3-4 foot sections.
Apply Additional Coats (If Necessary)
Once the first coat is dry (refer to the paint can for drying times), assess whether additional coats are needed.
If the colour is uneven or the original wall colour is still visible, apply a second coat following the same techniques as before.
Clean Up and Enjoy
Carefully remove the painter’s tape, pulling it away from the wall at a 45-degree angle. If any paint has seeped under the tape, use a small brush or cotton swab to touch up the affected areas.
Reattach outlet covers and switch plates, and return wall decorations to their original positions.
Clean your brushes, rollers, and trays with water for water-based paints or paint thinner for oil-based paints.
It is a good idea to hold onto any unused paint in a shed or safe storage area, just in case touch-ups are needed in the future due to accidental damage.
But if you have a lot of excess paint or you have old expired paint cans, dispose of them according to your local waste disposal guidelines.
Once everything is dry and back in place, step back and admire your handiwork. You’ve successfully transformed your space with a fresh coat of paint.
Overview
Painting a wall is an achievable project that can significantly enhance the look and feel of your home. By following this step-by-step guide, you’ll be well on your way to creating a beautiful, professional finish.
Remember, the key to a successful paint job is patience, preparation, and attention to detail.
Now that you’ve mastered the art of painting walls, you can confidently tackle other home improvement projects with ease.
Of course, if you would rather leave it to professional residential painters, our helpful team is only a phone call or email away.