Whitewashed brick is making a quiet comeback. With its soft, aged look and subtle charm, whitewashing offers a refreshing alternative to flat paint or full-scale renovations.
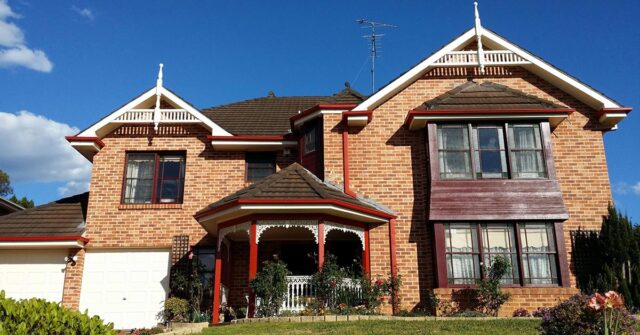
Whether you’re looking to update an indoor fireplace or soften the exterior of a red-brick home, this traditional technique gives you texture, warmth, and timeless appeal without covering the natural character of brick.
In this guide, you’ll learn what whitewashing is, how it compares to other popular finishes like limewash, and how to do it yourself with the right prep and materials.
What Is Whitewashing – And Why Is It So Popular Again?
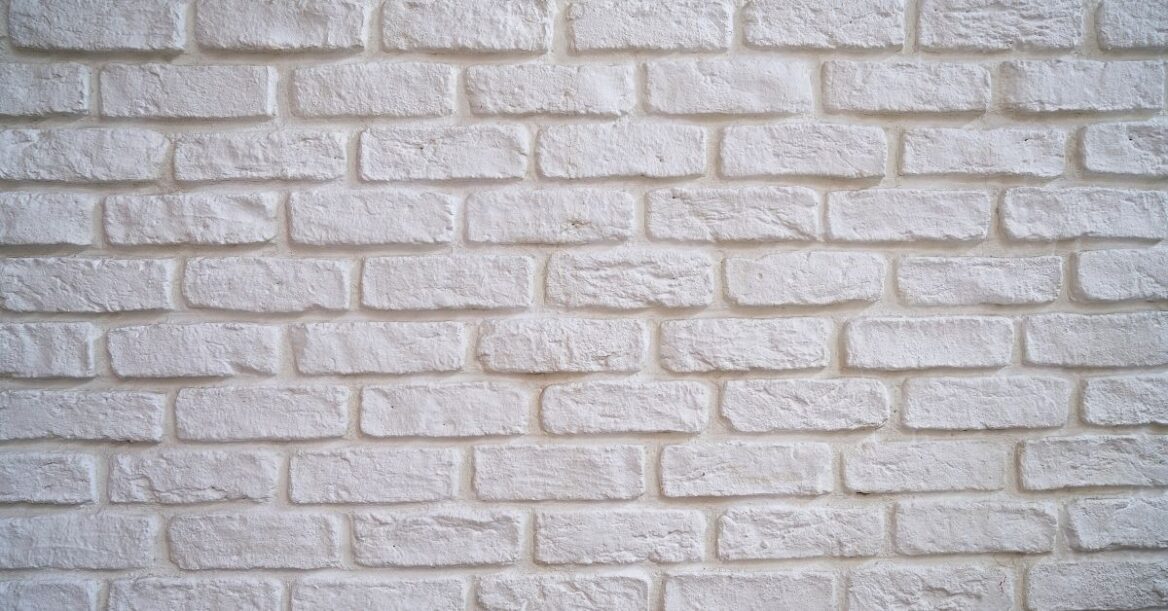
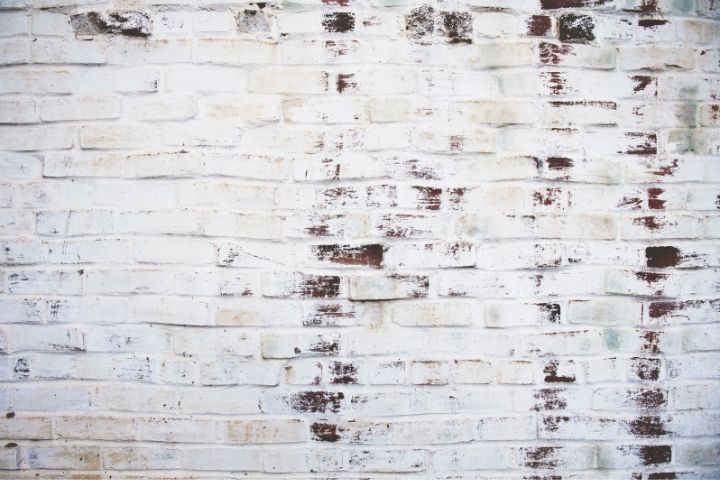
Whitewashing is the process of applying a watered-down paint or lime solution to brick to create a semi-transparent, muted effect.
It softens the harshness of red or brown brick while allowing the natural texture to show through.
A Time-Tested Brick Treatment
Whitewashing isn’t new. It’s a centuries-old technique originally used for both aesthetic and practical reasons.
Today, it’s sought after for its lived-in charm and its ability to lighten up dark spaces without completely masking brickwork.
The Aesthetic Appeal of a Whitewashed Look
A whitewashed wall feels relaxed, organic, and effortlessly classic. Unlike flat painted brick, which can sometimes feel cold or artificial, whitewash creates visual depth.
It can make a space feel brighter while still highlighting the brick’s natural imperfections and character.
Whitewashing vs Limewashing vs German Smear – What’s the Difference?
Though often confused, these three finishes are different:
- Whitewashing uses diluted latex paint, giving a sheer, chalky overlay.
- Limewashing uses slaked lime and water. It’s more breathable and natural-looking but slightly trickier to apply.
- German Smear is a heavier mortar-based finish that changes the brick’s shape and texture.
Each offers a unique aesthetic. Whitewashing is often chosen for its simplicity, soft texture, and ease of reversal.
Pros and Cons of Whitewashing Brick
Before grabbing a paintbrush, it’s important to understand what whitewashing offers and what it doesn’t.
Advantages: Breathability, Beauty, and Affordability
- Enhances natural texture without fully covering the brick
- Inexpensive compared to painting or re-cladding
- Allows brick to breathe, reducing moisture issues
- Customisable opacity, from soft wash to heavier coverage
- DIY-friendly, even for first-timers
Drawbacks to Consider: Durability and Maintenance
- Not fully weatherproof unless sealed, especially outdoors
- May fade over time, particularly with exposure to sun and rain
- Difficult to apply evenly on some textured surfaces
- Not suitable for painted brick without proper prep
Is Whitewashing Permanent?
Whitewashing is semi-permanent. It typically lasts 5 to 15 years, depending on the location and exposure. Interior applications can last longer.
If sealed properly, exterior whitewash can be refreshed every few years to maintain its look.
When and Where to Use Whitewash on Brick
Whitewashing works beautifully in both indoor and outdoor settings, provided the surface is unpainted and in good condition.
Interior Brick: Fireplaces, Feature Walls, and More
Indoor whitewashing is a favourite for:
- Fireplace surrounds
- Accent walls in living rooms or kitchens
- Exposed brick in converted homes or renovations
It instantly lightens a room while preserving rustic charm.
Exterior Brick: Curb Appeal Without Paint
For outdoor use, whitewashing offers a more natural alternative to full painting. It’s ideal for:
- Heritage homes
- Coastal properties
- Brick garden walls or entryways
Just ensure proper sealing to protect from weathering.
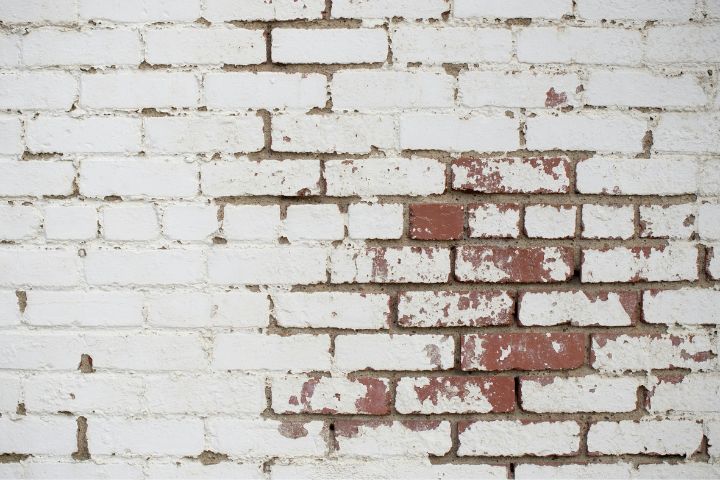
Surface Suitability: New vs Aged Brick
Older, porous brick tends to absorb whitewash better and achieve a more authentic look. New or smooth-faced bricks may need light sanding or extra coats for best results.
Avoid applying whitewash to previously painted brick unless the old paint is fully removed.
How to White Wash Brick – A Step-by-Step DIY Guide
You don’t need to be a professional to whitewash brick. With the right materials and preparation, it’s a straightforward weekend project.
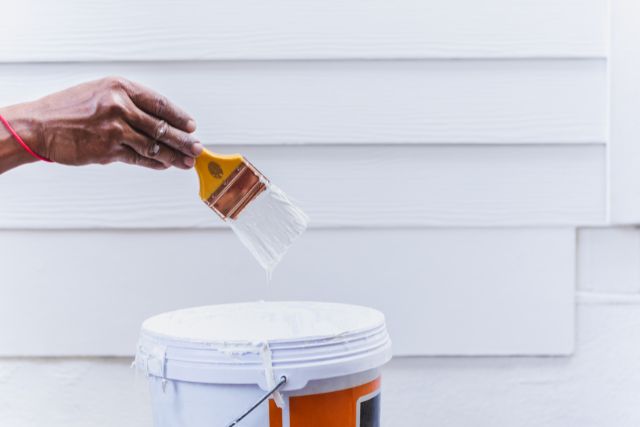
What You’ll Need: Tools and Materials
- Latex paint (flat or matte white)
- Water (for dilution)
- Bucket for mixing
- Stiff-bristle brush or sponge
- Drop cloths and painter’s tape
- Cleaning brush and mild detergent
- Optional: sealant for exterior use
Preparing the Brick Surface
- Clean the brick thoroughly to remove dust, soot, or grime.
- Let it dry completely before applying anything.
- Protect surrounding areas with drop cloths and painter’s tape.

Mixing the Whitewash Solution (Paint Ratios Explained)
Start with a 1:1 ratio of latex paint to water for a medium-opacity wash. Adjust to your liking:
- 1:2 paint-to-water for a lighter wash
- 2:1 for heavier coverage
Test a small patch before applying everywhere.
Applying the Whitewash: Techniques and Finishing Tips
- Work in small sections so the wash doesn’t dry too quickly.
- Apply with a brush or sponge for a more textured finish.
- Use a rag to wipe excess if you want more brick to show.
- Step back occasionally to check for evenness and effect.
Optional: Sealing and Protecting Your Work
For exterior applications or high-traffic indoor areas, consider applying a breathable masonry sealer once dry. This helps maintain the finish and protects against weather or stains.
Common Mistakes to Avoid When Whitewashing Brick
Whitewashing is forgiving, but a few common missteps can ruin the look or reduce durability.
Over-Applying or Over-Thinning the Mix
Too much water results in a patchy, uneven finish. Too much paint will obscure the brick’s character. Test your ratio and build up slowly.
Skipping Surface Prep
Dirty or dusty bricks will reject the whitewash. Thorough cleaning ensures proper adhesion and a more consistent finish.
Ignoring Drying Times or Sealing Needs
Allow each section to dry before touching or applying more. And if your brick is exposed to the elements, sealing is strongly recommended.
FAQs About Whitewashing Brick
Still have questions? Here are the most commonly asked questions answered by our experienced team.
How long does whitewash last on brick?
Typically, 5 to 15 years. Interior applications can last decades. Exterior whitewash may need touch-ups every few years, depending on climate and sun exposure.
Can you whitewash over previously painted brick?
Not effectively. Paint prevents absorption, which is essential for whitewash. You’ll need to strip the old paint or consider a different technique.
Will whitewash protect the brick from the weather?
Not by itself. While it allows the brick to breathe, whitewash doesn’t offer strong weather protection. A breathable sealer can help for outdoor use.
What type of paint or lime is best to use?
For whitewashing with paint, use flat or matte latex in white or off-white tones. If using limewash, choose a slaked lime product made for masonry surfaces.
Can whitewashing be reversed?
Partially. Since the finish is thin and absorbs into the brick, removal can be difficult. Power washing may lighten it, but full removal isn’t guaranteed.